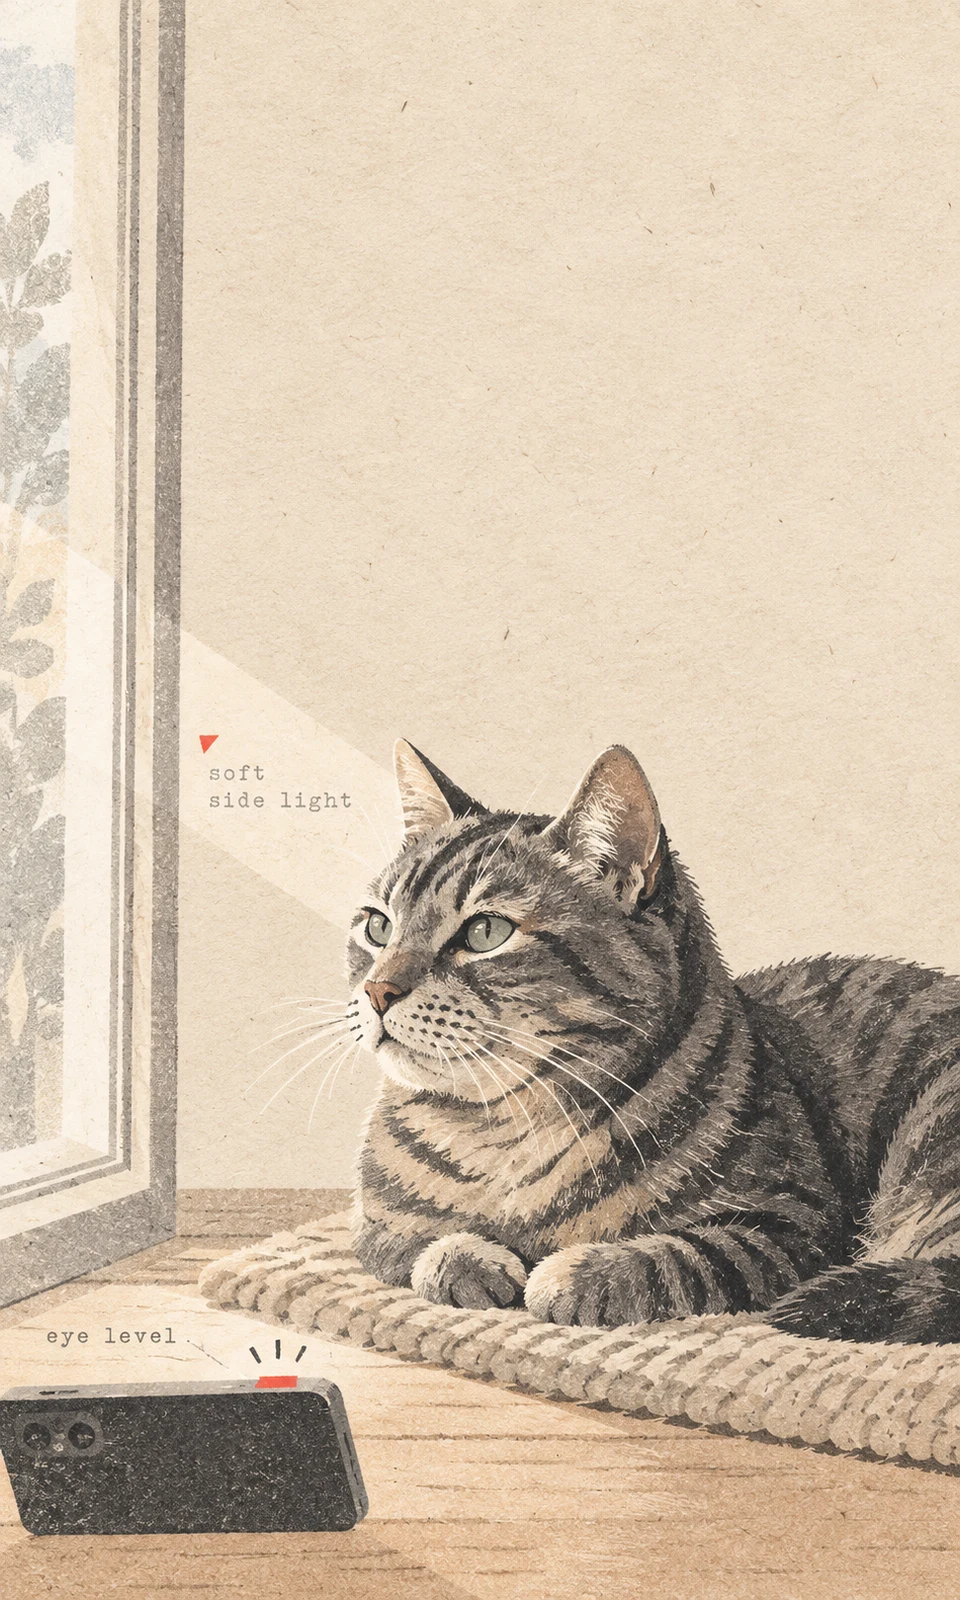
Place your pet in a comfortable floor-level spot beside a window with soft, indirect daylight. Arrange yourself so the window lights the face from slightly ahead and to one side, then bring your phone down to your pet’s eye level. For a window light pet portrait reference photo, the useful result is a relaxed pose with readable eyes, natural coat color and enough space around the pet’s outline.
1. Find soft daylight and a comfortable spot
Choose a window where a bright beam of sunlight is not falling across your pet. An overcast window or one facing away from direct sun can be an easy starting point. Judge the light in the room; the useful time of day will vary between homes.
Look for hard-edged patches of sunlight on the floor and face. If you see them, try another window, wait until the sun moves, or close a sheer curtain if you already have one. You are looking for gentle transitions between light and shade.
Use a familiar rug or bed on the floor, with room for your pet to leave. Keep the setup away from windowsills and unstable or raised platforms. A comfortable resting position gives you somewhere to begin without requiring a new pose.
2. Arrange the window, pet and phone
Imagine the arrangement from above: your pet faces twelve o’clock, your phone is at twelve, and the window is toward ten or two. Position yourself and the resting spot around the available window to approximate that layout. Treat it as a starting arrangement and adjust by looking at the face.
The window should reach the front of the muzzle as well as one cheek. Bring the phone toward eye level and leave enough distance to include the ears and intended body outline without crowding your pet.
For a hypothetical example, a dog settles on a rug with the window beside its left shoulder. You move slightly toward the window and wait for the dog to look toward you. That small head turn brings more of the face into the light while the dog stays comfortable.
A profile or sideways glance can also be useful if it shows the features you want preserved.
3. Check the shadows and background
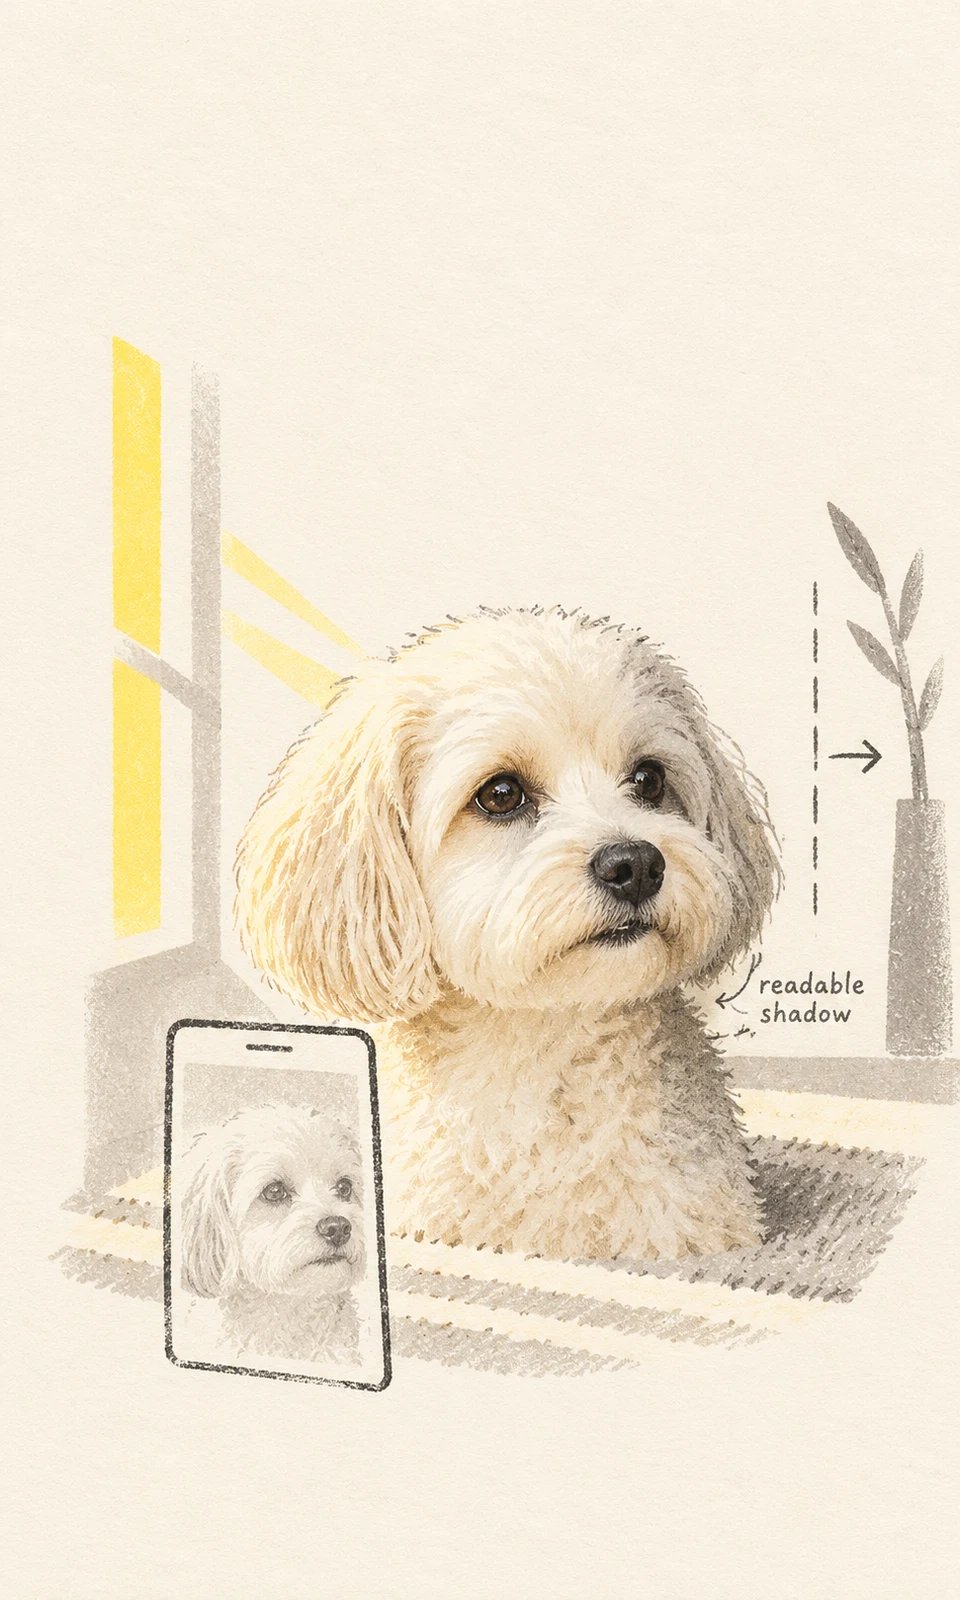
Look at both sides of the face in the phone preview. A gentle difference in brightness can make the muzzle and cheeks easier to distinguish, but the shadowed side should still contain readable detail.
If the visible eye on that side disappears into darkness, encourage a small head turn toward the window or adjust the resting spot. If pale fur becomes a blank bright patch, move out of the direct beam or choose gentler light. Make one change at a time so you can see its effect.
Check behind the pet as well. Move loose clutter when convenient, or shift your own position so a chair leg or lamp stem does not appear to grow out of an ear. A familiar room is fine when it leaves the pet’s important features clear.
If nearby lamps give the coat an obvious yellow tint, try switching them off and checking the daylight alone.
4. Take a few photos without extending the session
Wipe the phone lens, switch off the flash and start with ordinary photo mode. Tap the face on the screen to set focus. If your phone offers a brightness adjustment, make small changes while checking that both dark markings and pale fur remain visible.
Hold the phone steadily and take a few frames while your pet is settled. Leave space above the ears and around the paws or body you intend to include. You can assess the framing afterward without having to repair a tight crop.
A familiar voice may prompt a brief glance, but a direct gaze is optional. Pause if your pet turns away or leaves. A short session around an ordinary resting moment is enough to try this setup.
5. Review the details before choosing a file
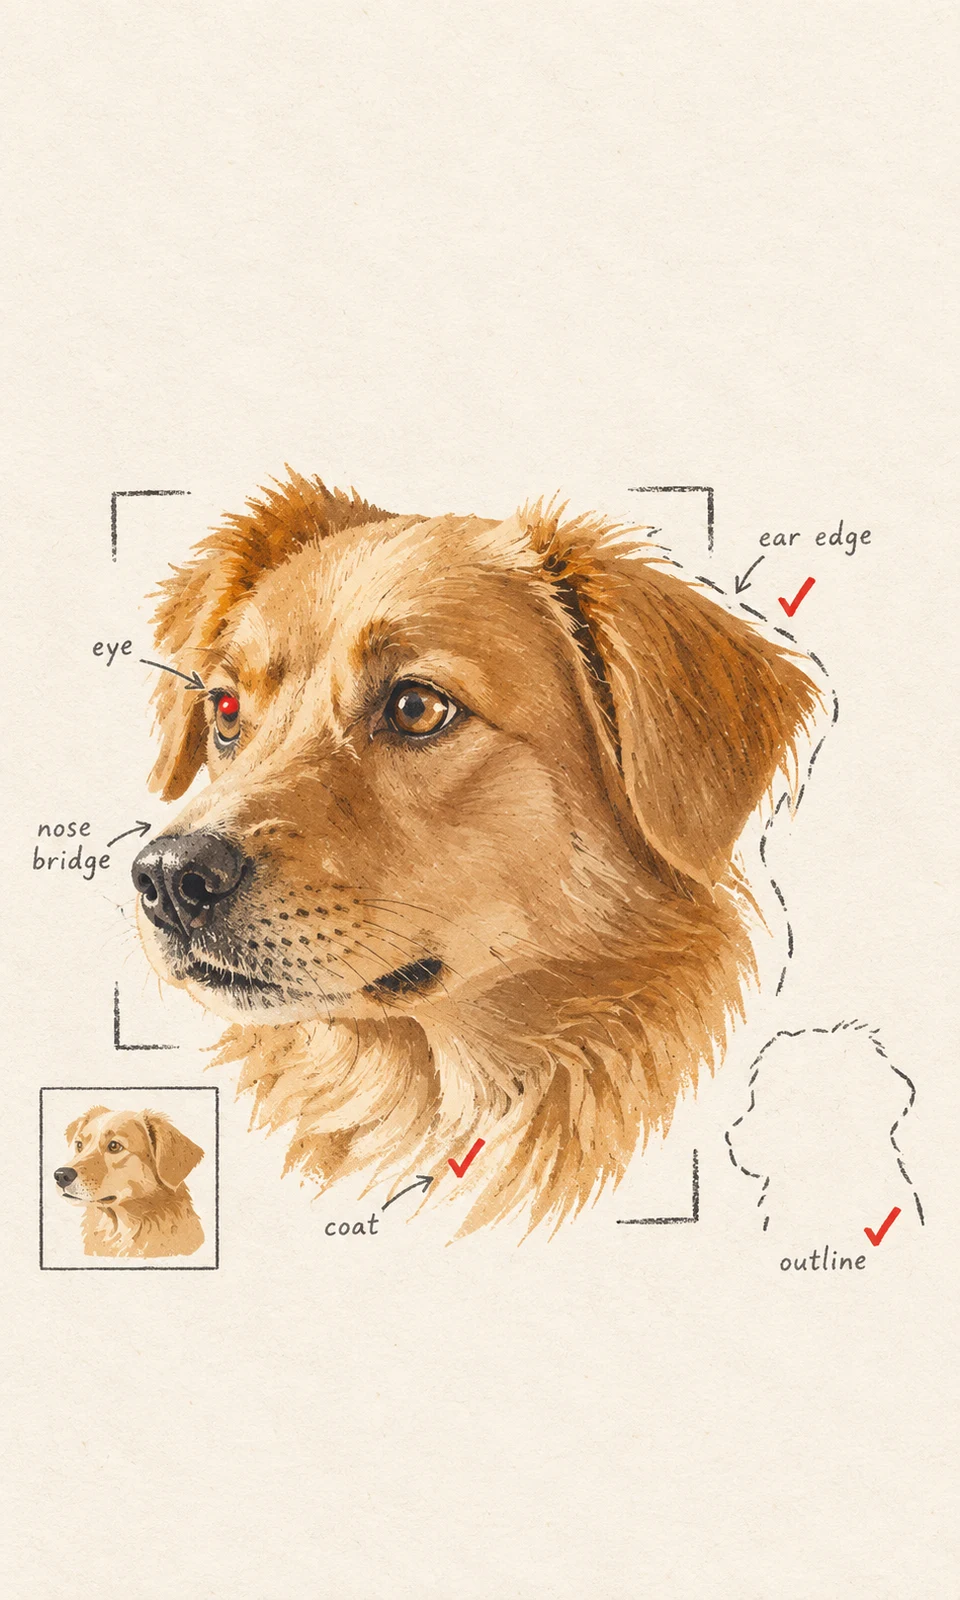
Open the photos at full size and zoom in enough to inspect the face. A small thumbnail can hide movement blur or an indistinct eye. Compare the frames using these four checks:
- Eyes and face: In an awake pose, the visible eyes and nose should be distinguishable. A sleeping pose can also work when the familiar facial shape remains clear.
- Ears: Keep the ear tips within the frame and check that their edges are distinct from the background.
- Coat: Look for believable color and readable markings. Check that bright fur retains texture and dark fur shows enough detail to understand the face.
- Outline: Include the complete outline needed for your intended portrait, with breathing room around it. A head portrait and a full-body portrait need different framing.
If blur or glare removes a defining feature, take another frame while the setup is available. Missing photographic detail cannot be reliably recovered later.
Keep the original camera file and avoid heavy filters. KeptPaw’s Photo Guide covers source selection and current upload requirements.
Before purchasing, you can send one photo for a free suitability review. This checks the source image only; paid portrait work begins through checkout. If you have already paid, submit your photo and notes through your private order link, as explained in How It Works.